Looking for beginner-friendly yoga? These hip-opening poses are beneficial for several reasons. You might want to ease lower back pain, improve your flexibility for splits, or simply relieve tightness from sitting all day. Our increasingly sedentary lifestyles contribute to tight hips, which can lead to discomfort and reduced mobility over time. Even light daily stretching can help alleviate this tension!
(Ardha Padmasana)
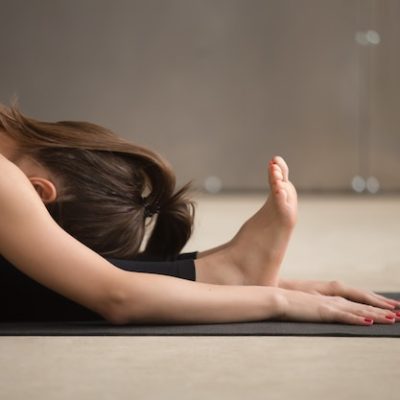
This pose stretches the knees, thighs, and hips, making it a great starting point. Sit with your knees bent and the soles of your feet touching. Bring your heels close to your body and place your hands on your feet. Keep your back straight and lean forward as you exhale. Hold for 30 seconds, using your quadriceps to gently push your knees toward the ground.
(Padmasana)
Lotus pose opens the hips, knees, and ankles. As a beginner, start with Half Lotus, as shown. Sit with your tailbone on the floor and your feet crossed in front of you. Lift your left foot to rest on your right thigh, feeling some pressure in your left hip, knee, and ankle. Hold for 30 seconds, releasing if you feel too much pressure or pain. Repeat on the other leg. If comfortable, try Full Lotus by placing your left foot on your left thigh while your right foot rests on your left thigh. Hold for 30 seconds or as long as comfortable.
(Malasana)
Garland pose opens the hips and ankles, making it useful for improving flexibility for Downward Dog. Squat down with your palms together at your heart, elbows touching the insides of your knees. Don’t worry if your feet don’t touch the ground; this will improve with ankle flexibility. To deepen the hip stretch, imagine your palms are opposing magnets and use your hands and elbows to push your knees apart. Hold for 30 seconds if possible.
(Utkata Konasana)
This pose benefits the hips, thighs, and glutes! Step your feet 3.5 to 4 feet apart and place your hands at your heart for balance, or point them toward the ceiling for an extra challenge. Slowly lower yourself, aiming for a 90-degree angle with your knees. Tuck your tailbone and push it forward to feel the stretch in your hips. Hold for 30 seconds, and expect to feel your quadriceps working!
(Eka Pada Rajakapotasana)
This is a one-legged version of King Pigeon Pose, which is more advanced. Bend your left knee in front of you while extending your right leg behind you. The goal is to sit comfortably with your front leg bent at a 90-degree angle, which requires hip flexibility. Place your hands on the floor or beside your knee and gently push down to feel the stretch in your back and right hip. To target the outside of your left hip, lower your chest toward the floor, resting your head on the ground or your hands. Hold for 30 seconds, then switch sides.
(Anjaneyasana)
This pose is excellent for opening the hips, especially if you want to do splits. Keep your front leg bent close to a 90-degree angle, with the back foot flat or toes curled under. Sink deeper into the stretch to enhance hip opening, and you can raise your hands toward the ceiling for an added stretch in your shoulders and back.
If you enjoyed these beginner poses and want more tips and workouts to transform your body with yoga, check out our Yoga Fat Loss Bible for Beginners. It’s a fantastic resource for those looking to lose weight, gain flexibility, and relieve discomfort through a calm and enjoyable yoga practice. It also includes a complete flexibility guide with beginner modifications to help you get flexible and relieve aches quickly!
Feel free to leave a comment if you liked this article or have any questions!


